

Drawing For Beginners (5-Step Guide)
How to Draw For Beginners?
Drawing doesn’t require talent. It requires a keen desire, and a surface upon which to draw. Drawing for beginners should be handled differently than drawing as a professional, or drawing as an intermediate. Let’s look at the steps that we should follow when drawing as a beginner:
Pick a reference image or object, and focus on big, simple shapes.
Learn to squint at your subject or scene to simplify it.
Take your time and visually measure the relative proportions.
Begin drawing. Don’t be afraid to erase, start over, or correct any mistakes you find.
Polish the focal point(s) the most with detail and contrast.
What do you need to know about Drawing for Beginners?
It can often be “uncomfortable.” It’s a bit like learning to drive, walk, or do any of the other daily tasks that we’re all societally and environmentally trained in. The key is to stick with it, and to aim for better and better results. We can all learn to walk with better form, or drive bigger or high-performance vehicles. Often times we meet our needs and then grow complacent. The point is that there are a myriad of ways to express ourselves with whatever we learn to do, and drawing is like any other skill in that regard.
Why is it important to know how to draw as a beginner?
As a beginner, you’ll have to approach drawing with the conscious intent of learning how to do it more seamlessly. This means studying simple bits of fundamental knowledge and practicing in a focused manner. “winging it” or running into mistake after mistake aren’t the most efficient ways to proceed, and this post will give you a solid foundation that you can use instead.
What are the different types of drawing?
Drawings come in countless forms, from sketchy to incredibly polished, and from very cartoony or abstract to pure hyper-realism. They are all governed by varying approaches, tastes, and guidelines. However, you’ll find that usually, your inspirations and interests will be a great deal of what informs how you prefer to draw— especially in terms of subject matter as well as technique.
How does drawing work as a Beginner?
Step-by-step. Give yourself a template to work with. There are a near-infinite number of ways to elaborate upon a framework, and once you have a solid framework, then you can begin to alter that as well. Stick with the following steps, and ensure that you’re not being too hard on yourself, or too hasty with your process.
Step 1: Pick a reference

Source: https://www.pinterest.com/pin/556476097704580963/
I’m using this photo I found on Pinterest. I’ve selected it because of the interesting pose, simple attire, and body type. The model is also close to how one of my characters, Cecelia looks. I’ll be using this photo as a basis to draw that character.
Step 2: Squint
This is the part where we simplify what we’re looking at, and pierce the veil of what’s going on visually.

Squinting will permit you to blur what you’re looking at. The details (of which there are many) fall away, leaving the most important information for the image we’re creating.
It’s like cooking with a few simple ingredients, rather than trying to take a whole dish in at once. Chances are whatever we make is going to taste really close to the first dish, even if we incorporate it well.
By stripping down the visual information, you’re pulling only the pieces you want. In this case, we’re looking for the general shapes and their relationships.
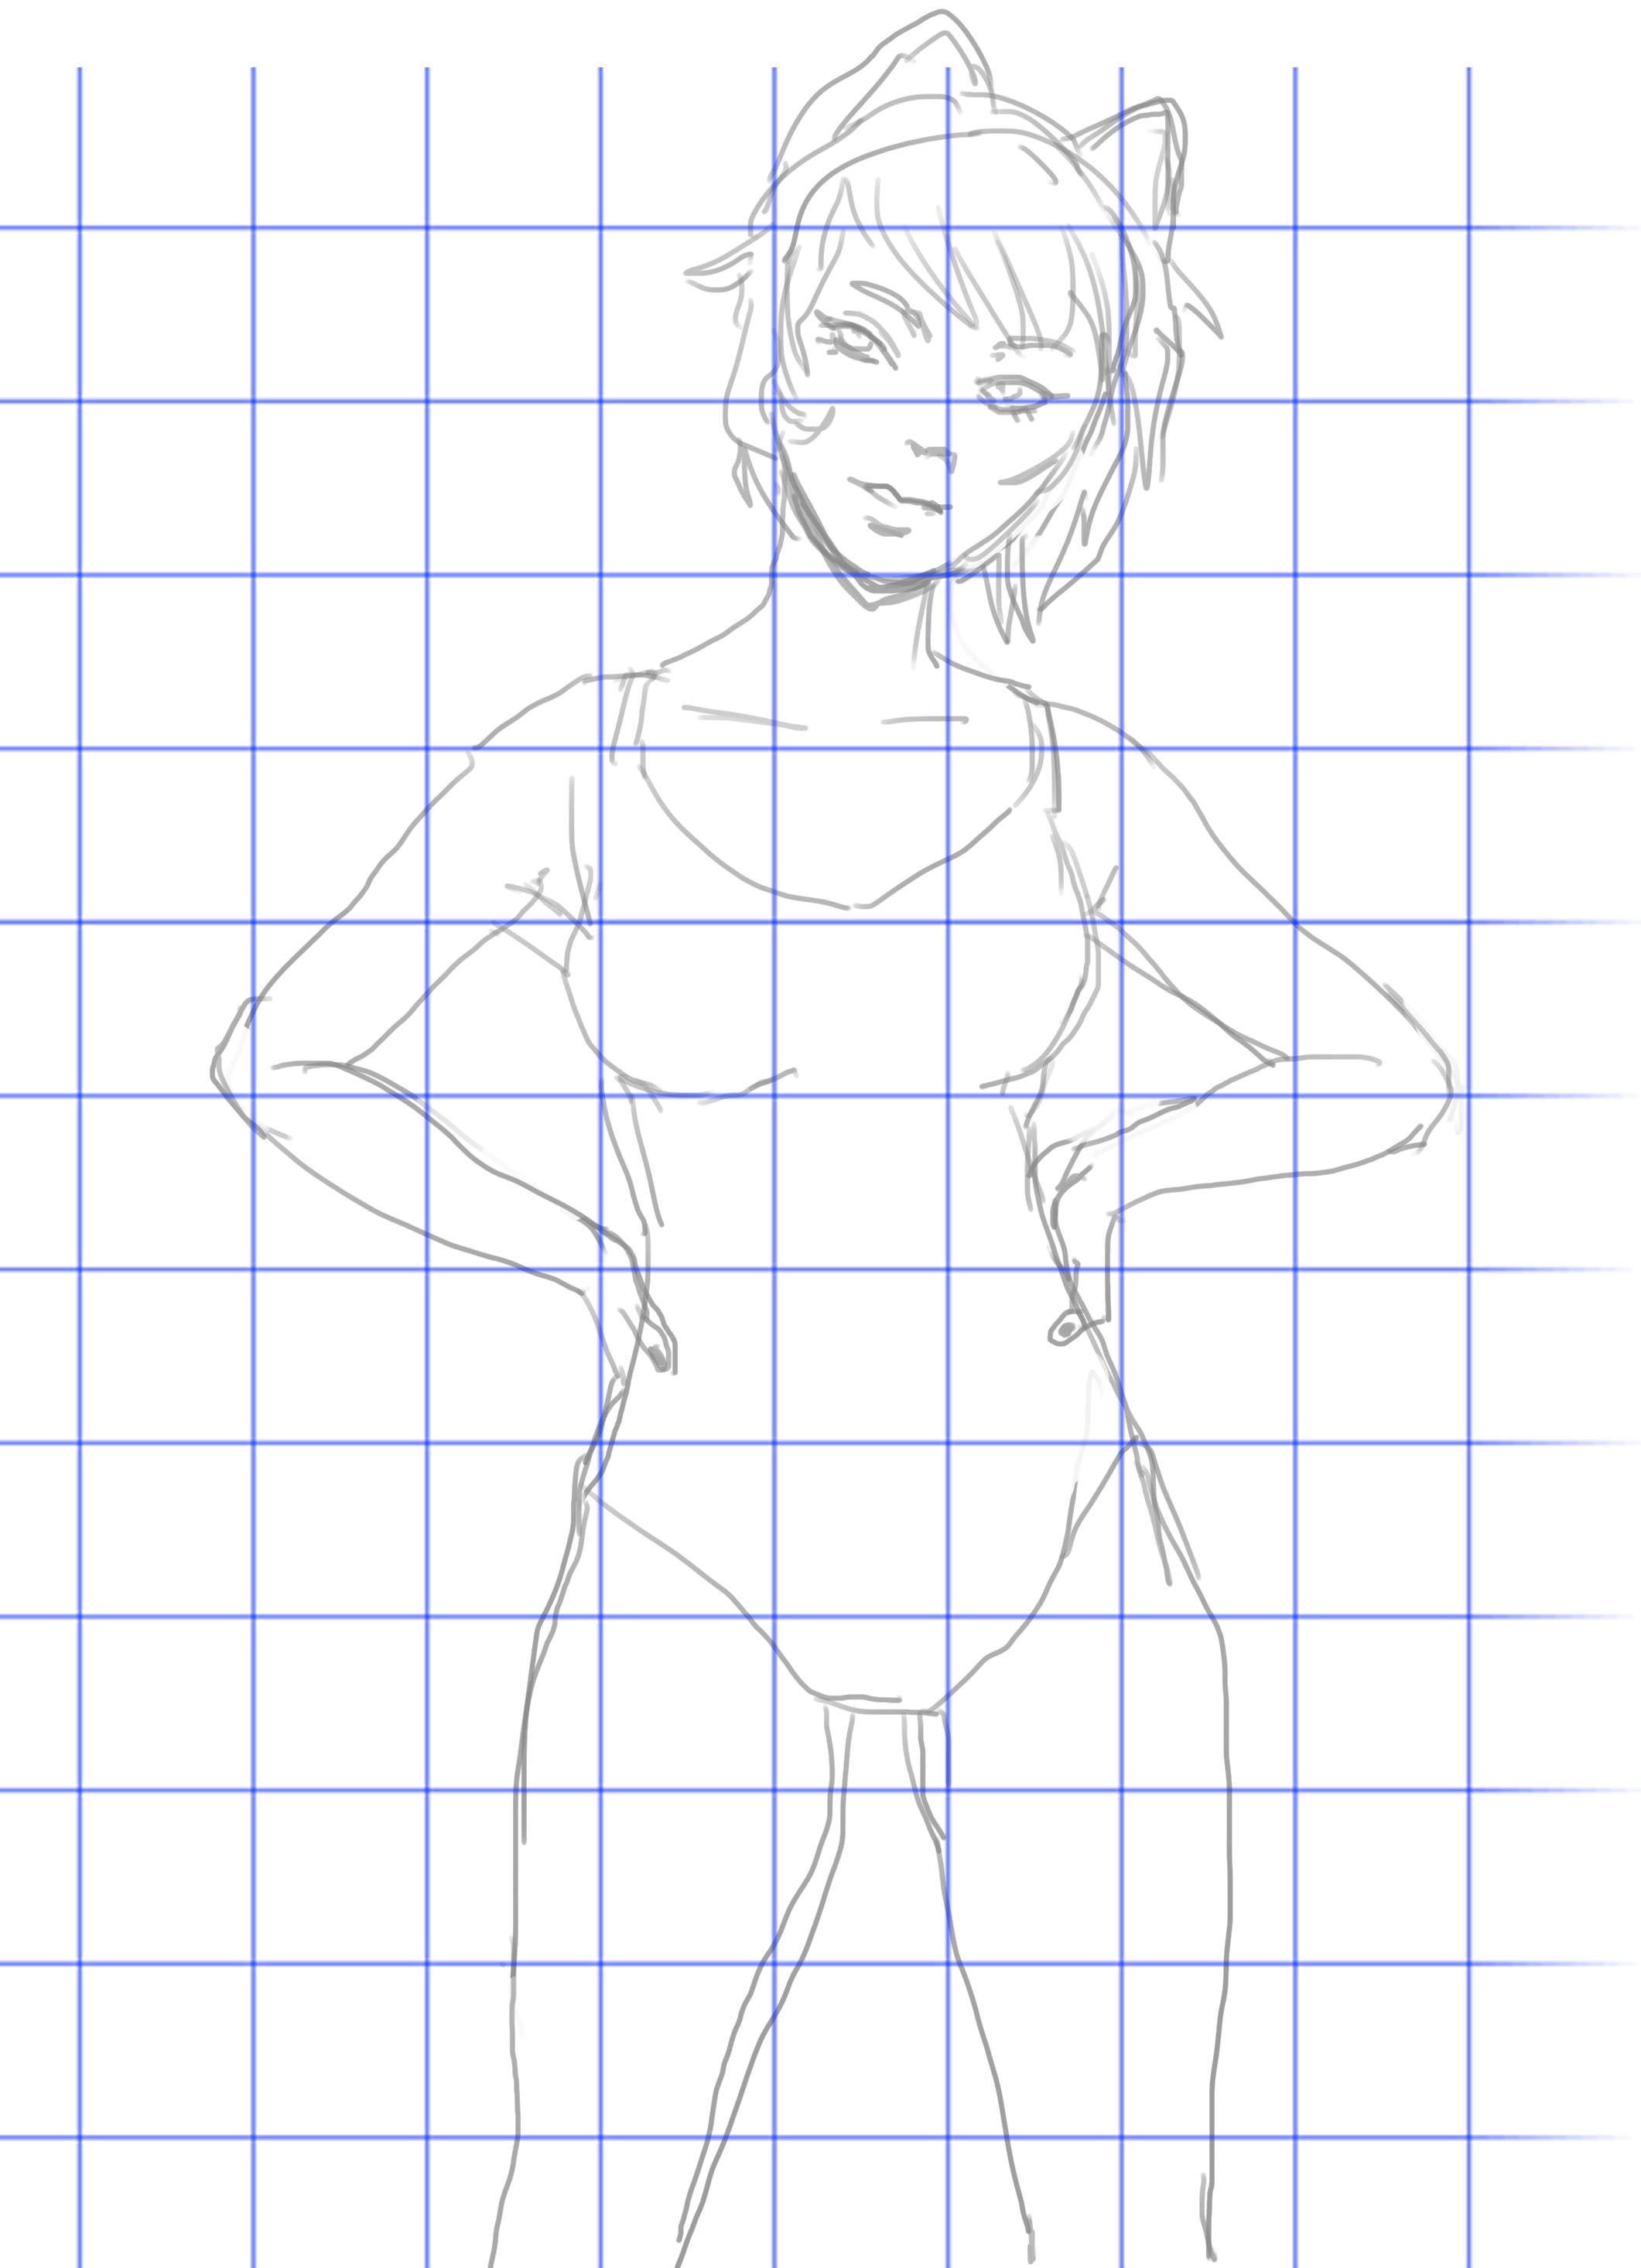
Step 3: Measure
Squinting and simplifying are pretty intuitive processes. However, breaking things down into measurements is often more exact.
Measurement can still be done very loosely, wherein you simply observe for a while and make mental notes of how things line up. Otherwise, you can overlay a grid to help you determine where things are with units.
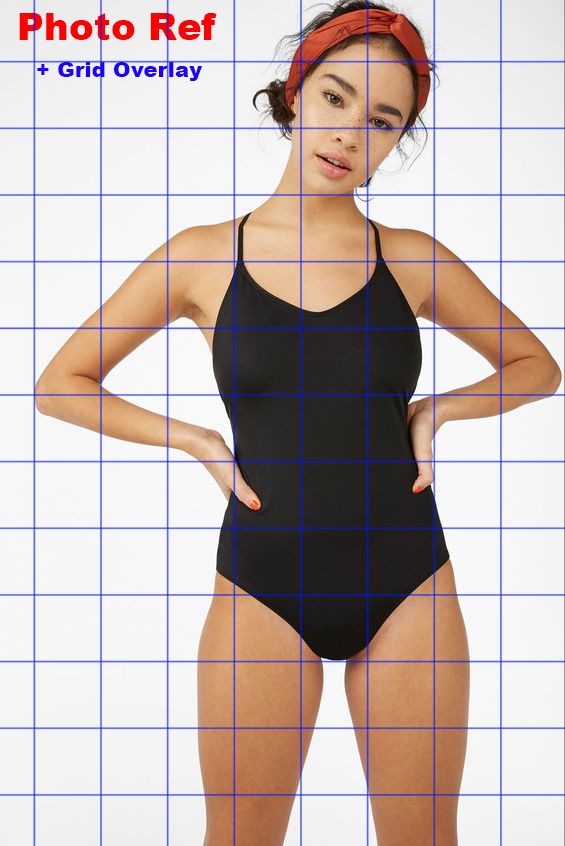
Note how her head is 2 units long and 3 units tall, or how her shoulder span is about 4 units long. Grids are useful for helping us parse otherwise complex information down to a more quantifiable format. There’s a reason why scientists, carpenters, engineers, and pretty much everyone measures in some capacity. Artists are no different in this regard.
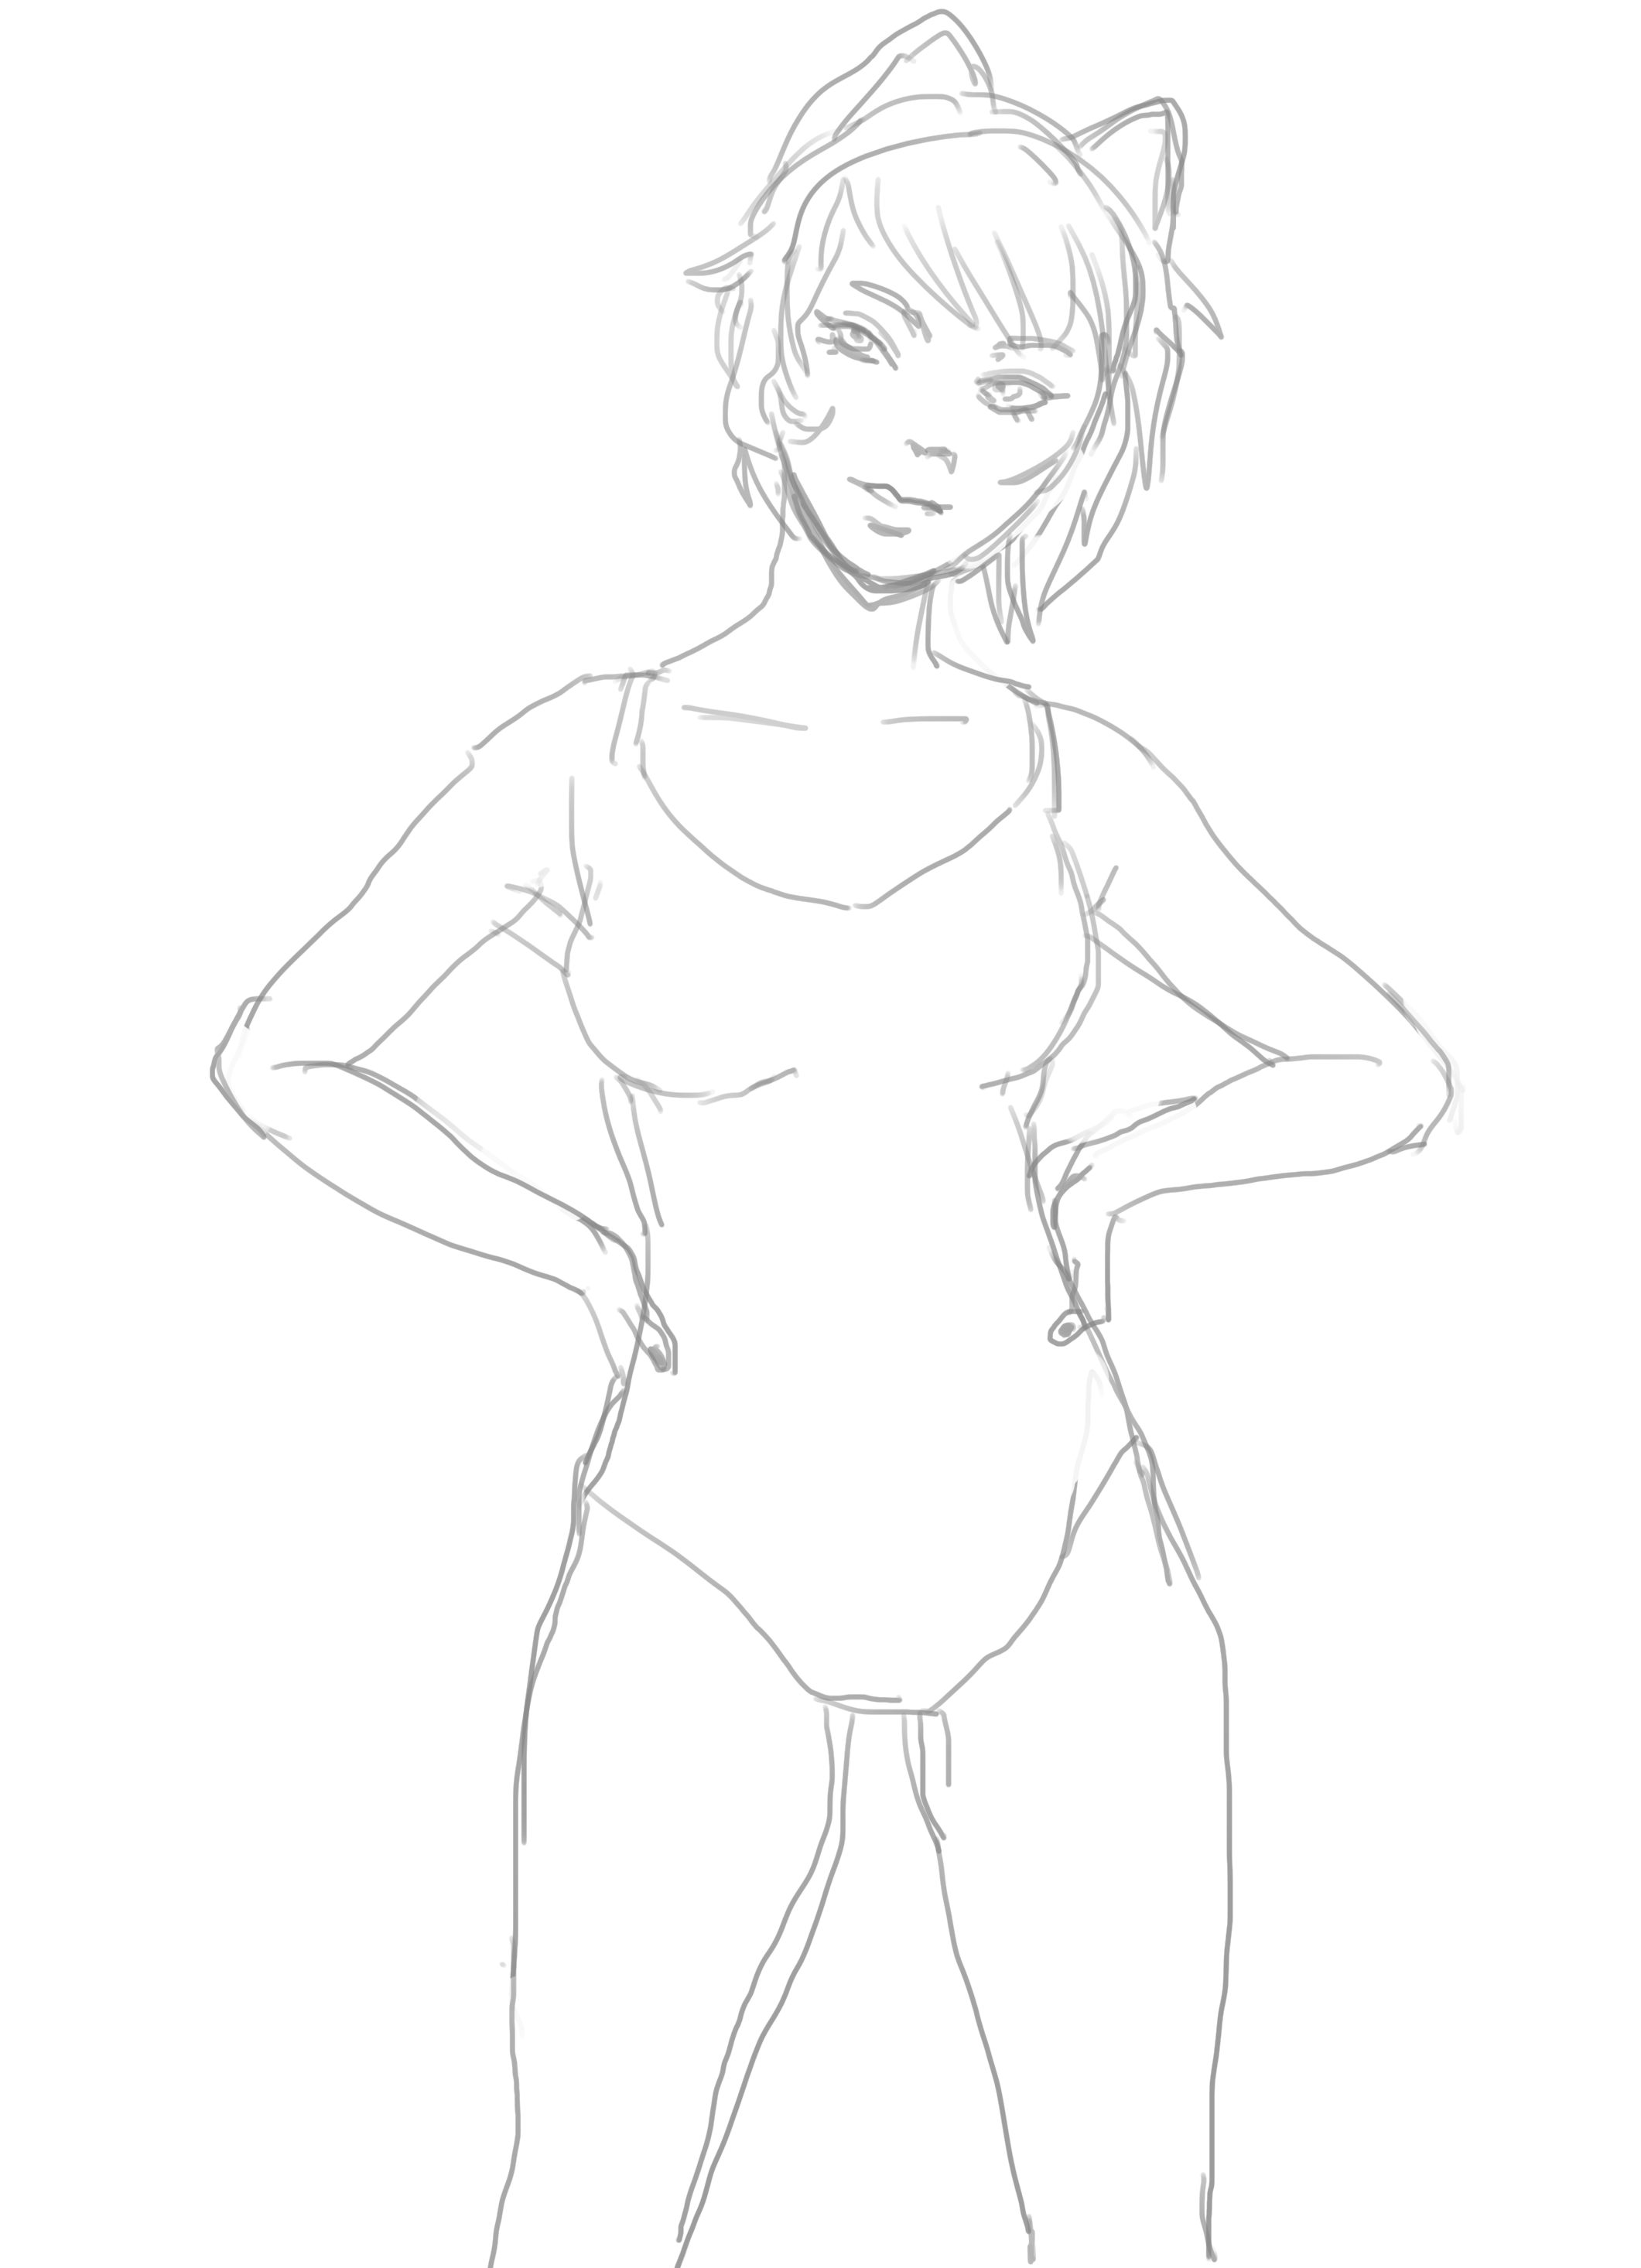
Step 4: Draw & Correct mistakes
With the basic information extracted and measured from our reference, we begin to draw.
You might start with a very rough overall sketch, or even a basic mannequin for the pose and proportions.
However you want to start, it’s important to correct errors as they arise. One common mistake that beginners make is to leave errors that they see unchecked until the very end, thereby building on an increasingly shifty foundation.
One error will attract more errors in proportion to the magnitude of the error, compounded by the length of time it is ignored, and the following errors that spring from it. You’'ll end up demolishing large chunks of the drawing if you proceed for too long without correcting errors. It’s simply easier than trying to unwind where each error arose, and fixing them in reverse-order.
Here’s an example. I consider this a first iteration drawing:

Step 5: Polish focal point(s)
The focal points are the places that will have the most detail and contrast. On figures it it often the face. Detail and contrast are what we use to draw attention to the areas we want the viewer to spend the most time on.
We’re going to go over everything a second time (another method for correcting errors and adding clarity) but we want to make sure that we’re paying special attention to places we want our audience to connect to.
This time-lapse process is pretty much exactly how that goes. Note how much care, rotation, zooming-in happen while working on the face.
You can also see the errors in line contour getting corrected on the arms and around the waistband of the shorts.
Many of these were done from imagination, but you can feel free to stick closer to your chosen ref.
That’s essentially the 5-step process for drawing as a beginner. Use this nicely-crafted process to guide you toward solid and appealing drawing.
Other valuable resources:
More lessons on drawing can be found on the Beginner Drawing Course Youtube Channel.
To further cement your learning - here’s a video demo as well: